The Profile synchronization settingsPCs included in synchronization, set of selected synchronized Outlook folders and their filters, the shared data folder location path, conflicts' resolution types. dialog allows you to quickly access and manage your profile settings
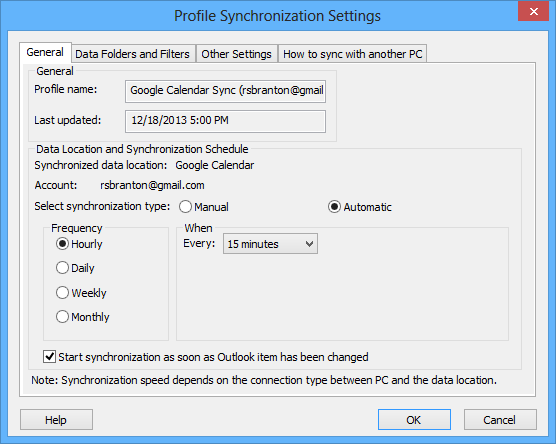
For accessing a synchronization profile select it from the profile status table of the main sync2 window and click "Settings" on the toolbar. The window below will open.
General: You can here change the profile synchronization schedule and access and change your corresponding Google account login information.'
To enable instant synchronization, leave the box “Start synchronization as soon as Outlook item has been changed” checked.
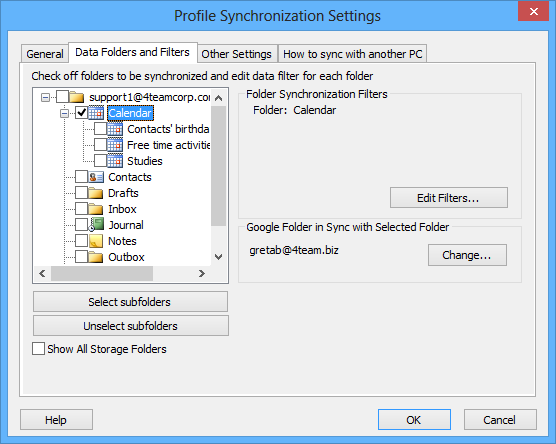
Data Folders and Filters: You can here see the synchronized folders, and their corresponding filters and Google Calendar folders; add, remove and change assignment of corresponding Google Calendar folders from the synchronization process within the selected Profile.
To add and remove an Outlook Calendar folder from a synchronization profile, check the box for the selected folder name.
To access non default folders (Archive, Public Folders, other Personal), check the "Show All Storage Folders" box.
To edit a filter for a preferred folder, click the folder (i.e. Calendar), and then click the "Edit Filter..." button. Learn more about filters here.
To assign a different Google calendar folder click "Change"
Click "OK" to apply the selected settings and proceed with the synchronization process.
Data Folders and Filters (Synchronizing Microsoft Outlook with Google Task lists): here you can see the synchronized folders, Google Task lists and their corresponding filters. Add, remove and change assignment of corresponding folders within the selected Profile.
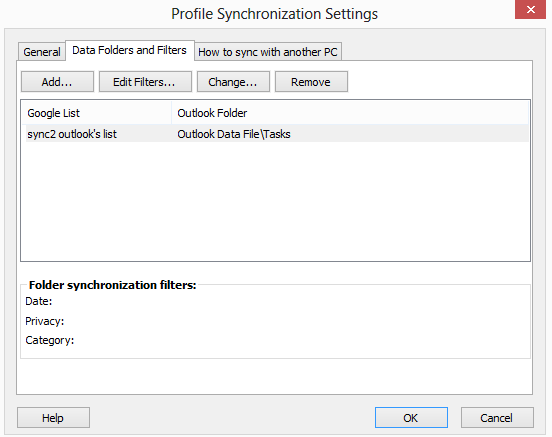
To add a new Outlook Task Folder to the list click the "Add..." button. Choose the folder you want to add from the folder tree in a new dialog window. The selected folder will appear in the folders list after you click "OK" and a new Google Task list with the same name will be created.
By clicking "Edit Filters..." you will be able to change synchronization filters of the selected Outlook folder from the list according to your needs. To learn more about the filters, click here. Please note, that filters are only applied for the Outlook Tasks, and cannot be applied for Google Tasks.
If you want to change Outlook folder that is assigned to a particular Google Task List, click "Change..." button. A dialog window will open, asking you to choose Outlook Task folder from the folder tree. Choose the folder and click "OK".
To remove Google Task List from being synchronized, select the list by clicking it and click the "Remove" button. It will disappear from the list.
Click "OK" to apply the selected settings and proceed with the synchronization process.